记录使用vscode构建Vue3商店后台管理系统,这是第七篇,主要记录系统登录页面的创建过程,包含完整vue登录页面代码;Vuex的相关知识以及具体的使用,对state中值得获取,修改,异步修改,分模块用法进行详细记录,包含完整代码示例;提供完整项目代码
正文内容:
一、登录页面的创建
创建LoginView.vue文件,在路由列表添加登录页面的相关路由信息,如下所示:
 {
    path: "/login",
    name: "loginView",
    component: () => import("../views/login/LoginView.vue"),
  }
编辑LoginView.vue文件,具体代码如下所示:
<template>
    <div class="main">
        <div class="loginBox">
            <h2>商品后台管理系统</h2>
            <el-form ref="ruleFormRef" :model="ruleForm" status-icon>
                <el-form-item label="账户:" prop="account">
                    <el-input v-model="ruleForm.account" />
                </el-form-item>
                <el-form-item label="密码:" prop="pass">
                    <el-input v-model="ruleForm.pass" type="password" />
                </el-form-item>
                <el-form-item>
                    <el-button type="primary" @click="submitForm(ruleFormRef)">登录</el-button>
                </el-form-item>
            </el-form>
        </div>
    </div>
</template>

<script>
import { reactive, toRefs } from "vue"


export default {
    name: "login",
    setup() {
        const data = reactive({
            ruleForm: [
                {
                    account: "",
                    pass: "",
                }
            ],
        })
        const submitForm = function (ruleFormRef) {
            console.log("login");
        }
        return {
            ...toRefs(data),
            submitForm
        }
    }
}
</script>
<style>
div.main {
    width: 100%;
    height: 100vh;
    display: flex;
    justify-content: center;
    align-items: center;
    flex: auto;
    background-image: url("../../assets/loginBackground.jpg");
    background-repeat: no-repeat;
    background-size: 100%;
}

div.main div.loginBox {
    width: 300px;
    height: 300px;
    display: flex;
    flex-direction: column;
    color: white;
    justify-content: center;
    align-items: center;
}

div.main div.loginBox h2 {
    margin-bottom: 25px;
}

div.main div.loginBox .el-form .el-form-item {
    width: 260px;
}

div.main div.loginBox .el-form .el-form-item:nth-child(3) .el-button {
    width: 260px;
}

div.main div.loginBox .el-form .el-form-item label {
    color: white;
}
</style>
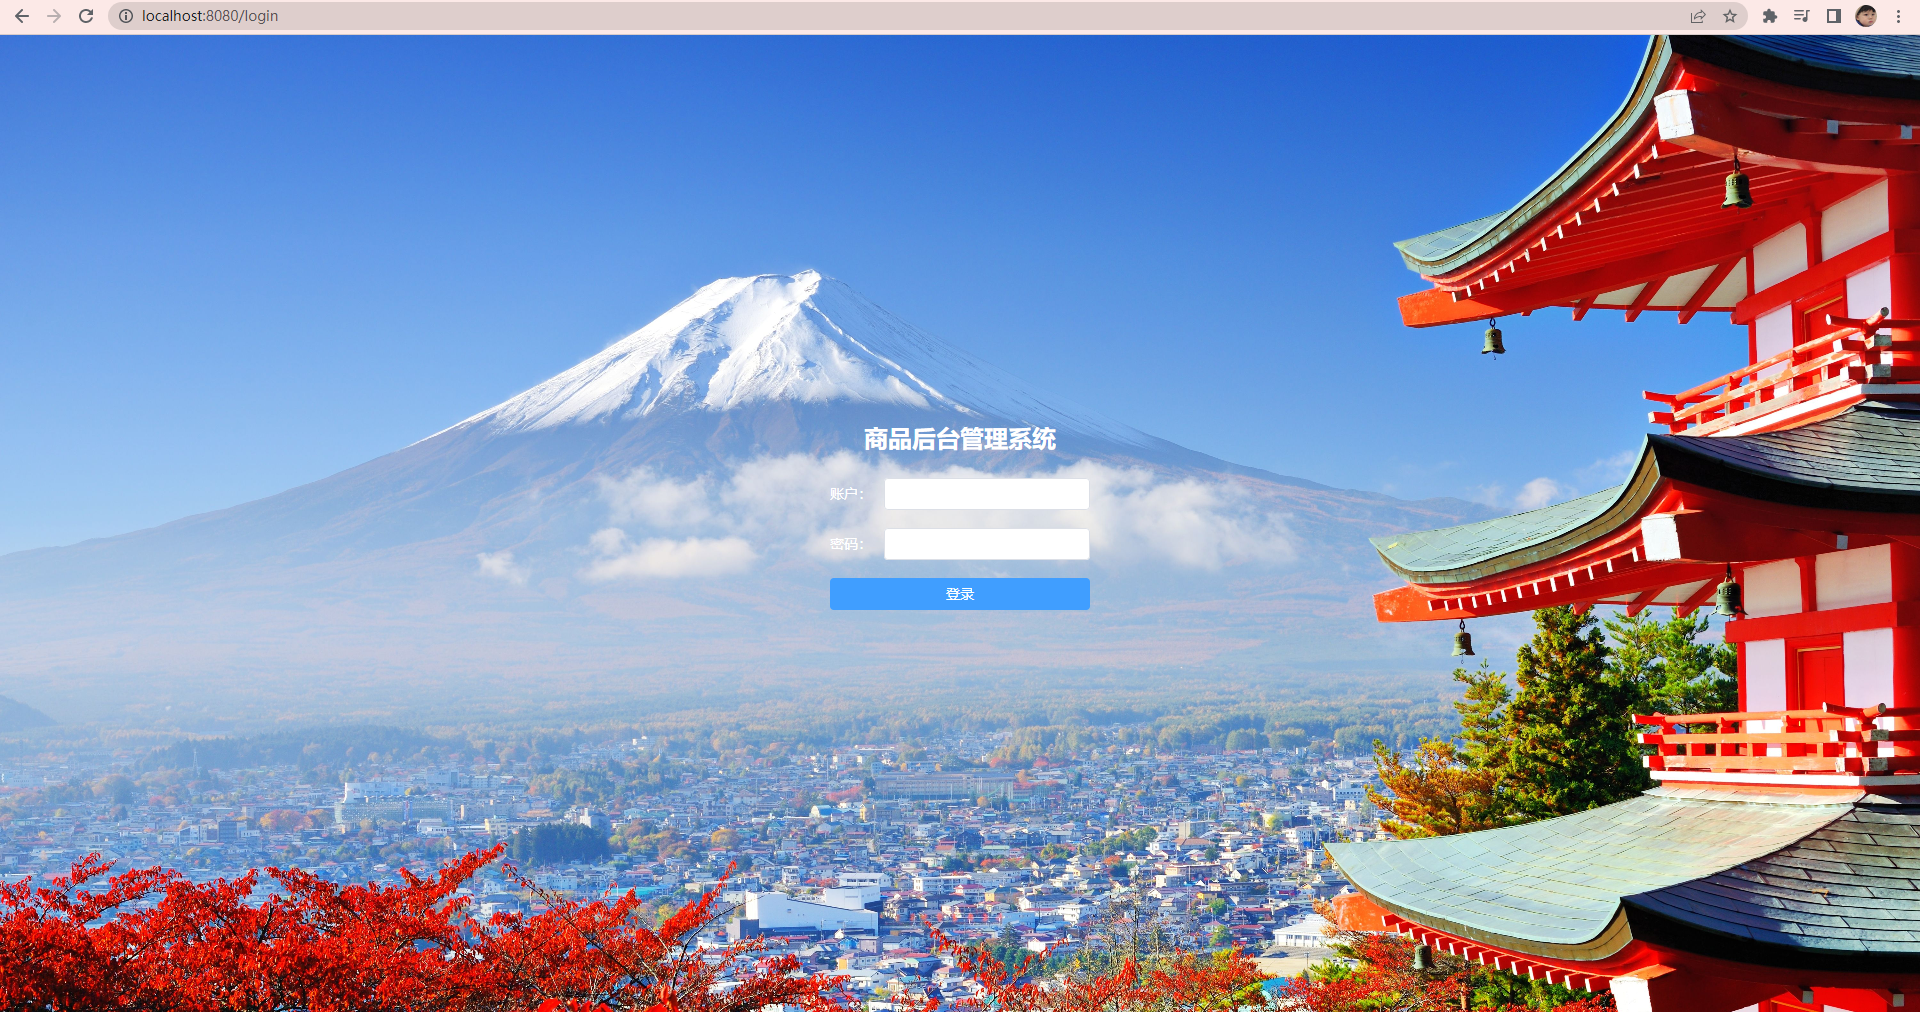
在浏览器输入地址http://localhost:8080/login,查看登录页面效果如下:
二、Vuex 是什么?
Vuex 是一个专为 Vue.js 应用程序开发的状态管理模式 + 库。它采用集中式存储管理应用的所有组件的状态,并以相应的规则保证状态以一种可预测的方式发生变化。
查看默认state中定义的count值
在state里面创建count
import {createStore} from "vuex";

export default createStore({
  // 全局的状态初始值
  state: {
    count: 1,
  },
  // 计算state,获取对应值
  getters: {},
  // 更新状态的方法,更新state的唯一方法,commit mutations
  mutations: {},
  // 可以异步操作,可以返回promise,更改数据还是传递到mutations进行更改
  actions: {},
  // 数据比较多的时候,分模块
  modules: {},
});
引入useStore,获取store对象,在登录按钮下边添加p标签,用于显示默认的count值
import { useStore } from "vuex"

export default {
    name: "login",
    setup() {
        const store = useStore()
        const storeNum = store.state.count;
        const data = reactive({
            num: storeNum,
        })

        return {
            ...toRefs(data),
        }
    }
}
运行效果如下图所示:

修改默认的count值
在mutations里面创建修改count值的方法setCount;setCount方法共有两个参数,第一个参数是state,第二个参数是调用这个方法的时候传递的具体数据值
import {createStore} from "vuex";

export default createStore({
  // 全局的状态初始值
  state: {
    count: 1,
  },
  // 计算state,获取对应值
  getters: {},
  // 更新状态的方法,更新state的唯一方法,commit mutations
  mutations: {
    setCount(state, num) {
      state.count = num;
    },
  },
  // 可以异步操作,可以返回promise,更改数据还是传递到mutations进行更改
  actions: {},
  // 数据比较多的时候,分模块
  modules: {},
});
设置登录按钮的点击事件为更改count数值
import { reactive, toRefs } from "vue"
import { useStore } from "vuex"

export default {
    name: "login",
    setup() {
        const store = useStore()
        const storeNum = store.state.count;
        const data = reactive({
            num: storeNum,
        })
        const submitForm = function (ruleFormRef) {
            console.log("login");
            //通过commit方法更改count值,第一个参数是mutations里面具体的方法名称,第二个参数是count的修改值
            store.commit("setCount", 100);
            console.log(store.state.count);
        }
        return {
            ...toRefs(data),
            submitForm
        }
    }
}
运行效果如下图所示:
 此时count的值并没有双向绑定
异步操作修改count值
在actions 里面定义setCountPromise方法,具体代码,如下所示:
import {createStore} from "vuex";

export default createStore({
  // 全局的状态初始值
  state: {
    count: 1,
  },
  // 计算state,获取对应值
  getters: {},
  // 更新状态的方法,更新state的唯一方法,commit mutations
  mutations: {
    setCount(state, num) {
      state.count = num;
    },
  },
  // 可以异步操作,可以返回promise,更改数据还是传递到mutations进行更改
  actions: {
    setCountPromise(context, num) {
      return new Promise((resolve, reject) => {
        if (num > 100) {
          reject("数值不能大于100");
        } else {
          context.commit("setCount", num);
          resolve();
        }
      });
    },
  },
  // 数据比较多的时候,分模块
  modules: {},
});
修改登录按钮的点击事件,具体代码如下所示
const submitForm = function (ruleFormRef) {
			//通过dispatch方法更改count值,第一个参数是actions里面具体的方法名称,第二个参数是count的修改值
            store.dispatch("setCountPromise", 101)
                .then(resp => { console.log(store.state.count); })
                .catch(err => { console.log(err) });
}
当count的修改值为101时,运行效果如下所示:

当count的修改值为100时,运行效果如下所示:

获取count值
在getters里面添加getCount方法,具体代码如下所示:
import {createStore} from "vuex";

export default createStore({
  // 全局的状态初始值
  state: {
    count: 1,
  },
  // 计算state,获取对应值
  getters: {
    getCount(state) {
      return state.count <= 1;
    },
  },
  // 更新状态的方法,更新state的唯一方法,commit mutations
  mutations: {
    setCount(state, num) {
      state.count = num;
    },
  },
  // 可以异步操作,可以返回promise,更改数据还是传递到mutations进行更改
  actions: {
    setCountPromise(context, num) {
      return new Promise((resolve, reject) => {
        if (num > 100) {
          reject("数值不能大于100");
        } else {
          context.commit("setCount", num);
          resolve();
        }
      });
    },
  },
  // 数据比较多的时候,分模块
  modules: {},
});
修改登录按钮的点击事件
 const submitForm = function (ruleFormRef) {
            store.commit("setCount", 100);
            console.log(store.getters.getCount);
}
运行效果如下图所示:
 在之前我们通过
store.state.count也可以获取count值,但是为什么还需要store.getters.getCount这种方式获取count值;首先笔者发现这是一种解耦的操作,通俗的将就是模块之间的耦合度降低,方便代码后期维护管理;通过store.getters.getCount这种方式,对count的操作独立出来,代码后期需要更改时是十分方便的
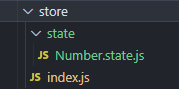
三、 store 分模块用法
新建文件夹state,用于存储分模块的state数据,新建Number.state.js文件用于存储一个模块的state数据,文件树如下图所示:
在Number.state.js写入state数据以及相关操作方法,具体代码如下所示:
export default {
  //开启namespace:true,该模块就成为命名空间模块
  namespaced: true,
  // 全局的状态初始值
  state: {
    count: 1,
  },
  // 计算state,获取对应值
  getters: {
    getCount(state) {
      return state.count <= 1;
    },
  },
  // 更新状态的方法,更新state的唯一方法,commit mutations
  mutations: {
    setCount(state, num) {
      state.count = num;
    },
  },
  // 可以异步操作,可以返回promise,更改数据还是传递到mutations进行更改
  actions: {
    setCountPromise(context, num) {
      return new Promise((resolve, reject) => {
        if (num > 100) {
          reject("数值不能大于100");
        } else {
          context.commit("setCount", num);
          resolve();
        }
      });
    },
  },
};
在index.js导入Number.state.js,并在modules添加number,具体代码如下所示:
import {createStore} from "vuex";
import number from "./state/Number.state.js";
export default createStore({
  // 数据比较多的时候,分模块
  modules: {number},
});
使用state数据值count,注意用法已经改变,具体代码如下所示:
<script>
import { reactive, toRefs } from "vue"
import { useStore } from "vuex"

export default {
    name: "login",
    setup() {
        const store = useStore()
        const getStore = store.getters["number/getCount"]
        const data = reactive({
            num: getStore,
            ruleForm: [
                {
                    account: "",
                    pass: "",
                }
            ],
        })
        const submitForm = function (ruleFormRef) {
            store.commit("number/setCount", 100);
            console.log(store.getters["number/getCount"]);
        }
        return {
            ...toRefs(data),
            submitForm
        }
    }
}
</script>
运行效果如下图所示:

四、项目完整代码
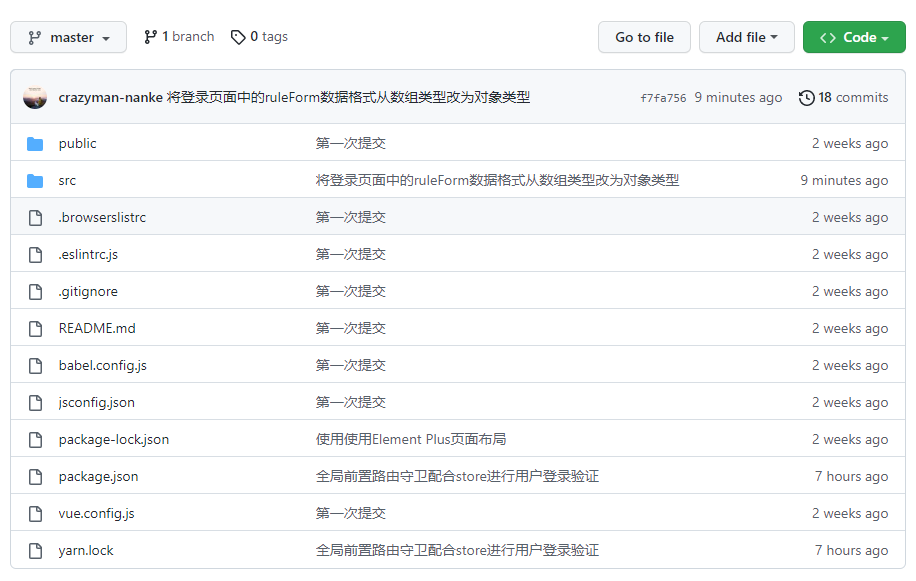
项目完整代码已经上传到github,地址如下:
https://github.com/crazymen-nanke/shop